To add Google tags to your artist page, go to the “Artist tools”:
There, select the Settings option:
Look for the “Google tags” option as shown in the following image:
Meanwhile, in your Google email, go to the icon located next to the settings and, within the options that are displayed, select “Google Analytics”:
When you do so, you will be welcomed to this section:
By clicking on “Start measuring”, you will be able to start the process to obtain the analytics. In fact, you will need to perform the following steps:
1. Create an account to which you will give a name.


2. Define a time zone and a currency in which you want the measurements to be taken.
3. Define the size of your business:

4. Indicate your objectives for collecting the data and accept the terms and conditions.


5. Indicate from which site you want to obtain the information. In this case, you must enter the domain of your artist page without “https://”.


Afterwards, perform the manual installation of the Google tag. To do this, simply copy the Google tag (in full) that will be created for your account and that will be similar in appearance to the one that appears in the following box that has a copy icon in the upper right corner. Indeed, copy it.


You must then copy this Google tag to your SPOZZ account. To do this, click on the blue “Add tag” button:
Select the “Google Analytics 4” option and save the changes.


The platform will indicate that the changes have been successfully saved.

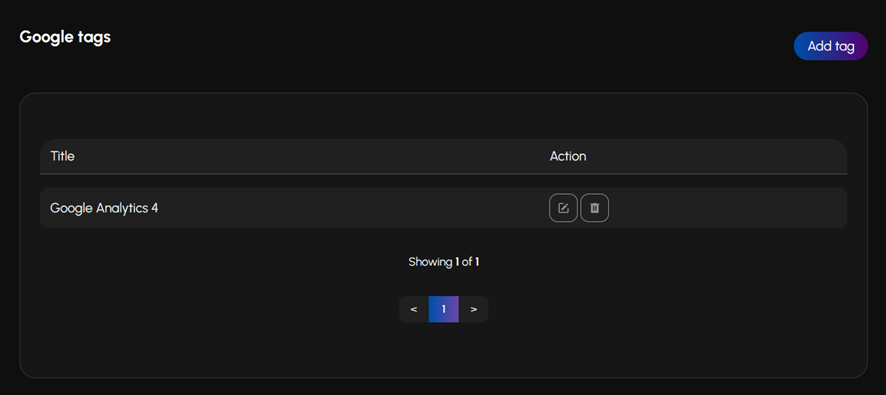
As you can see in the following image, this tag is already established and you can edit or delete it by clicking on the respective icons as shown in the following image.
Now let's look at the real-time analytics report. For this, any day, at any time you want, you can log in to your email and go to the Google Analytics option. The difference is that, now, the Google tag for your artist page is already defined.

In fact, you can indicate that you want to see in real time how many people are visiting your artist page. In this case, the result is “1”, since we ourselves are on this page at the time of the tutorial. Of course, if your artist page has activity, the results of the analytics will be much more interesting and will help you make decisions regarding your artistic endeavor.


That's all for this tutorial! You've learned how to collect analytics for your artist page in SPOZZ.